Karim had just bought a brand new 1.5 ton inverter AC. He was excited — finally, a proper cooling solution for his bedroom. He called a local technician from the neighborhood to install it. The man came, drilled the wall, connected the pipes quickly and left within an hour. Total cost: ৳800.
Three weeks later, the AC was barely cooling. The technician came back, said the gas had leaked and charged another ৳2,500 for refill. Two months after that — same problem. Same excuse.
The real issue was never the gas. It was the installation. The pipes were not properly insulated. The vacuum process was skipped completely. Gas was charged without pressure testing. Every shortcut taken that first day created problems that lasted months.
When Karim finally called Service Wala, our technician spent two hours doing the installation properly — from start to finish. That was eight months ago. The AC has been running perfectly since.
A good AC installation is not about how fast it gets done. It is about how well it lasts.
Why Proper Installation Matters More Than You Think
Most people focus entirely on which AC to buy. Brand, tonnage, energy rating — they research everything. But the installation gets almost no attention. This is a mistake that costs money later.
Here is what happens when AC installation is done poorly —
Gas leaks within weeks because pipes were not properly connected or vacuumed. The compressor works harder than it should — because the refrigerant level was never accurate. Water drips inside the room — because the drainage pipe was fitted at the wrong angle. Noise from vibration — because the bracket was not mounted level. Higher electricity bills from day one — because the system was never balanced correctly.
A proper installation prevents all of this. It is the foundation your AC runs on for the next 8 to 10 years.
How We Install Your AC — Step by Step
We do not rush. Every installation follows a strict process — because every step matters.
📍 Step 1 — Site Assessment
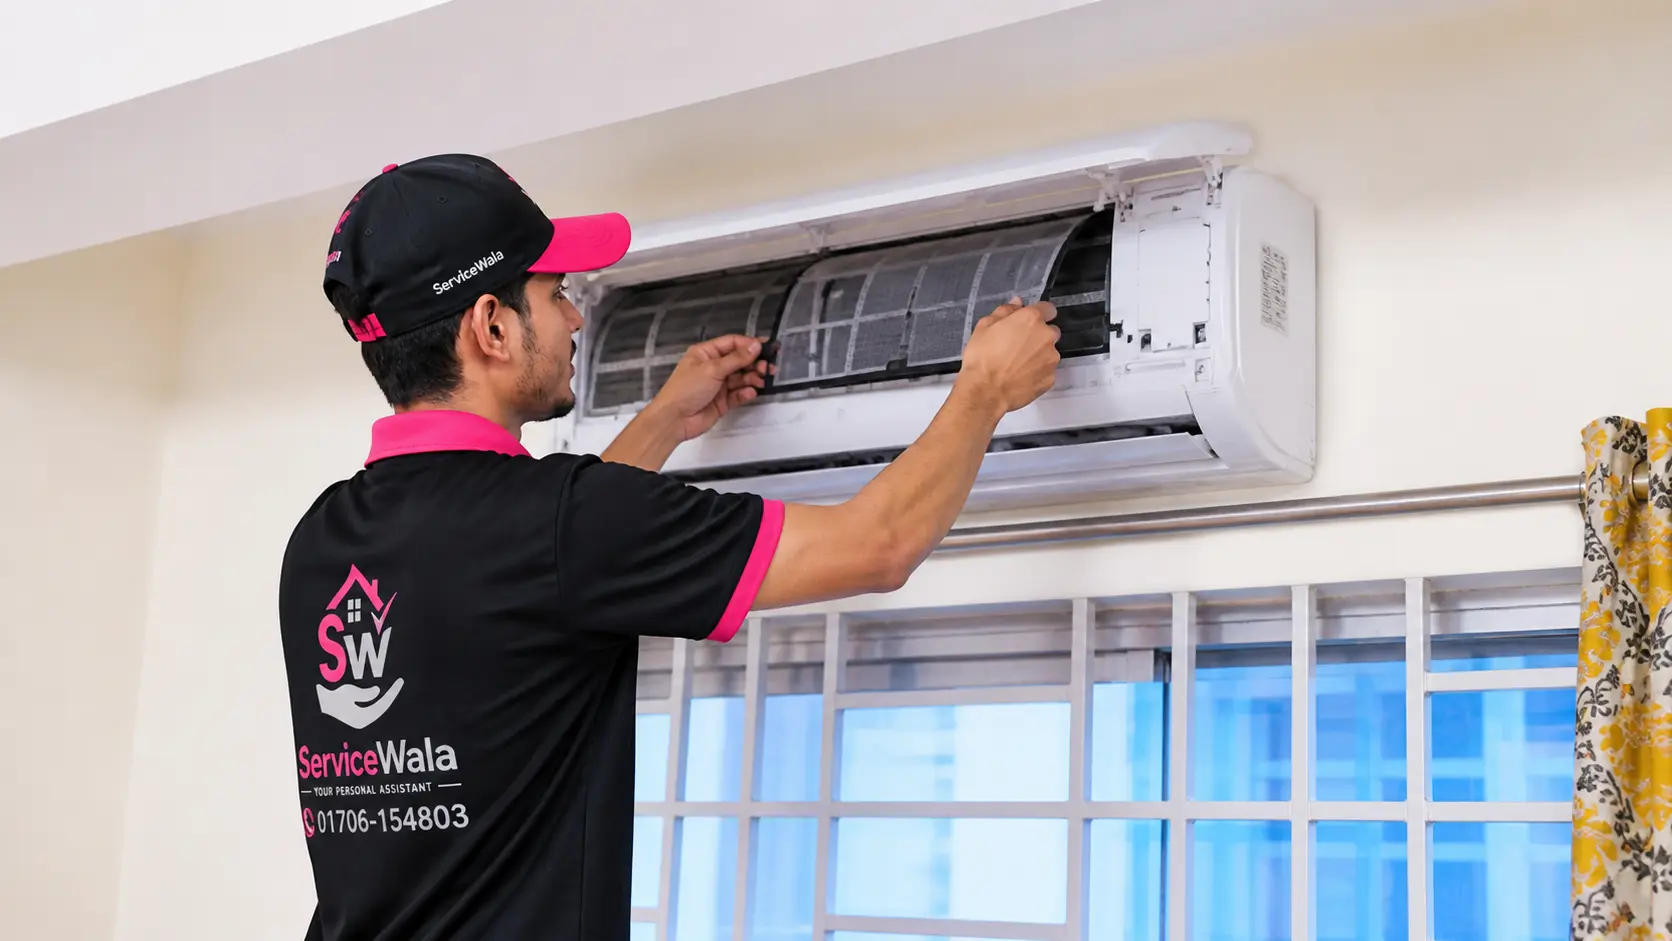
Before drilling anything, our technician checks the best position for the indoor unit — for maximum airflow, minimum pipe length and proper drainage angle. A good position means better cooling and less electricity consumption.
🔩 Step 2 — Bracket Mounting
The indoor unit bracket is mounted level and secured properly into the wall. A bracket that is not level causes vibration noise and puts stress on the unit over time.
🪛 Step 3 — Pipe Fitting with Insulation
Copper pipes are cut to the exact length needed and connected carefully. Every pipe is properly insulated — without insulation, pipes sweat, create moisture and reduce efficiency. This step is where most cheap installations cut corners.
🌀 Step 4 — Outdoor Unit Placement
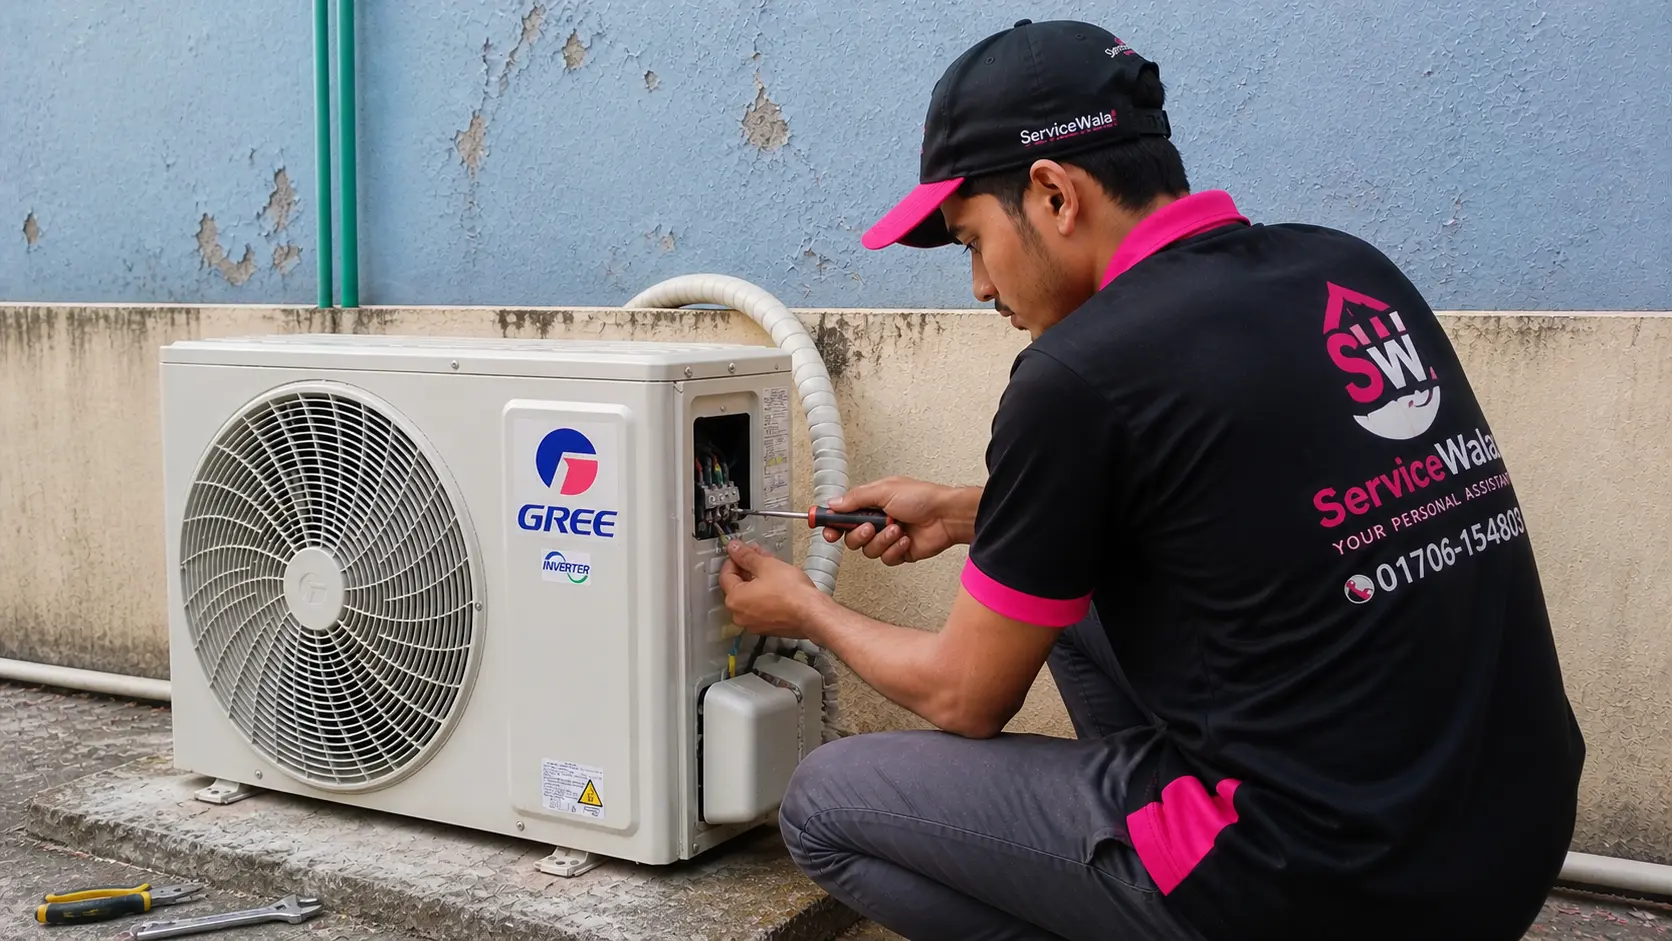
The outdoor unit is placed in a position with proper airflow around it. A unit placed in an enclosed space or direct sunlight runs hotter and uses more electricity. We advise the best position before mounting.
💨 Step 5 — Full Vacuum Process
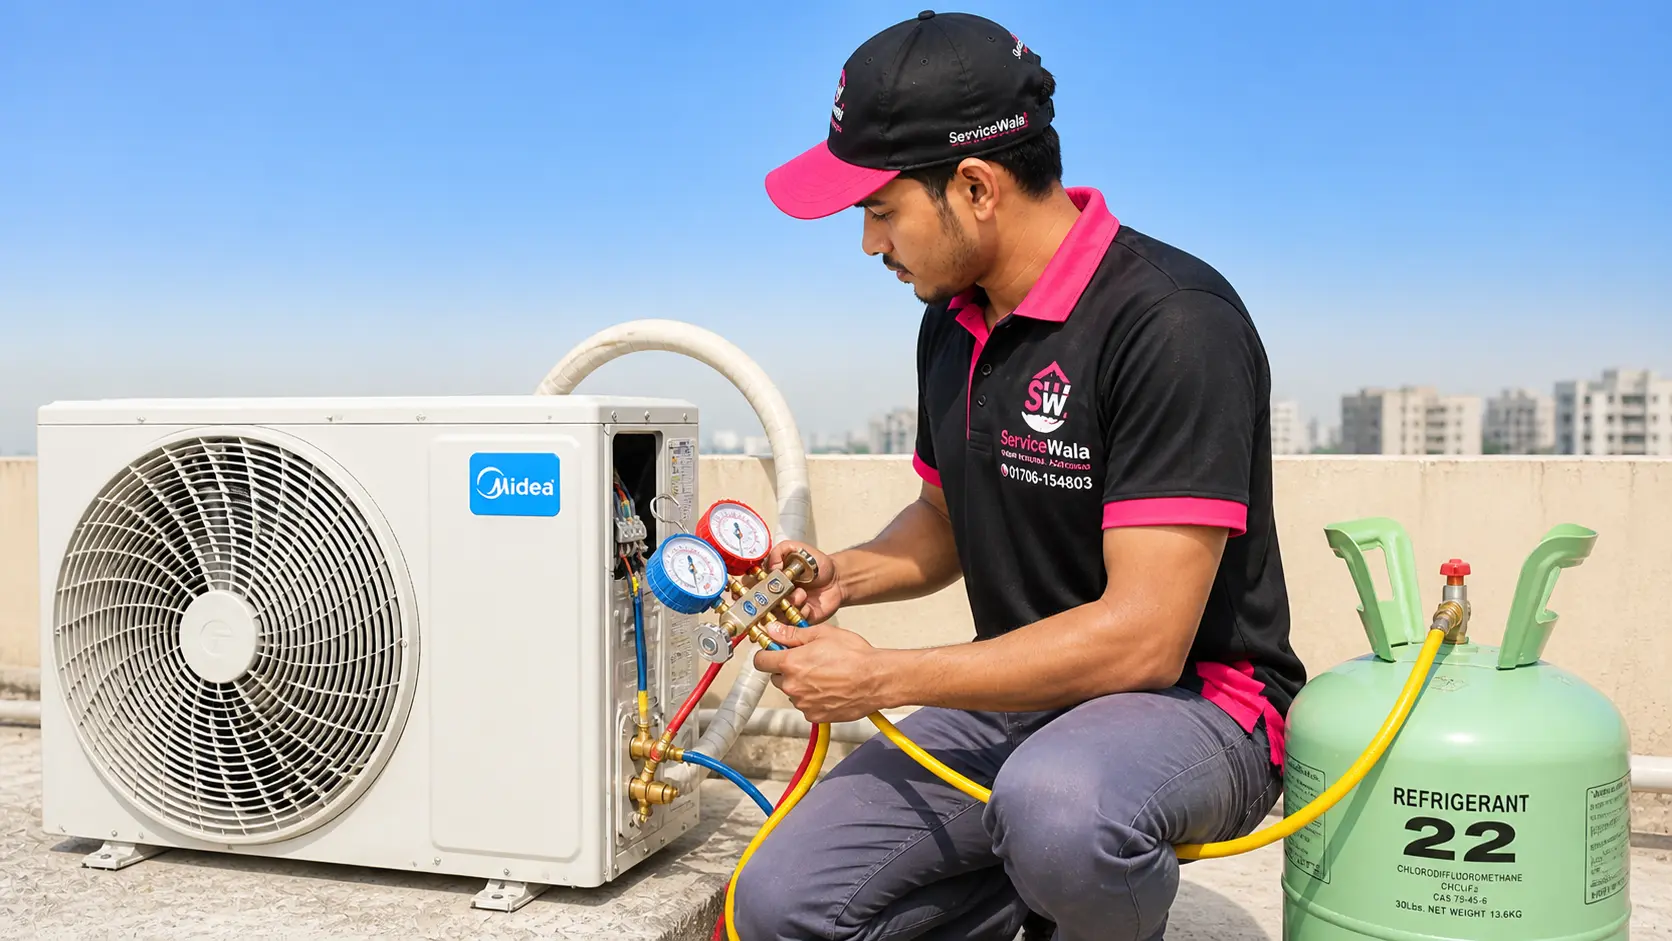
This is the step that separates a proper installation from a cheap one. We use a vacuum pump to remove all air and moisture from inside the copper pipe before charging gas. Moisture inside the pipe damages the compressor over time and causes gas to leak. No vacuum — no quality installation. This is non-negotiable for us.
🌡️ Step 6 — Gas Charge with Pressure Testing
After vacuum, we charge refrigerant gas — R22, R32 or R410A depending on your AC model. We use a pressure gauge to verify the exact level. You can watch the gauge reading yourself — full transparency, no guessing.
💧 Step 7 — Drainage Pipe Fitting
The drainage pipe is fitted at the correct downward angle so water flows out properly. A wrongly fitted drain pipe causes water to drip from the indoor unit — one of the most common complaints after a bad installation.
✅ Step 8 — Performance Test
Once everything is connected, we run the AC and monitor it for 10 to 15 minutes. We check cooling output, drainage flow, any unusual noise and outdoor unit operation. We do not leave until everything is working perfectly.
What About Uninstall and Reinstall?
Moving to a new home? Your AC does not have to stay behind.
Many people assume moving an AC means buying a new one — because they are worried about gas loss or damage during removal. With the right technician, this is not a concern.
Our AC Uninstall and Reinstall service safely removes your AC from the old location — sealing the pipes properly to prevent gas loss — and reinstalls it at the new location with the same careful process. Vacuum, pressure test and performance check — everything done again at the new place.
This saves you the cost of a new AC and ensures the unit runs just as well in its new home.
Why choose our AC Installation service in Rampura,Dhaka
Rampura's transition from quieter residential neighborhood to busy urban area means its building stock spans several decades of construction style — from late 1990s apartment blocks near TV Gate to recent mid-rise buildings along DIT Road. Our installation technicians have worked across this range, developing specific knowledge of how Rampura's different building generations handle AC installation. In an older 4-story building near Rampura Bazar, we completed an installation where the only viable outdoor unit position was on the rear wall of the building — requiring a longer than standard pipe run and careful routing through the kitchen area to maintain a clean appearance. In a newer DIT Road building, we installed for a family on the 7th floor, mounting the outdoor unit on the building's rear service area using a wall-mounted bracket that kept the unit clear of the drainage outlet below. Each Rampura installation reflects the specific conditions of that building and that apartment.
Our Other Services
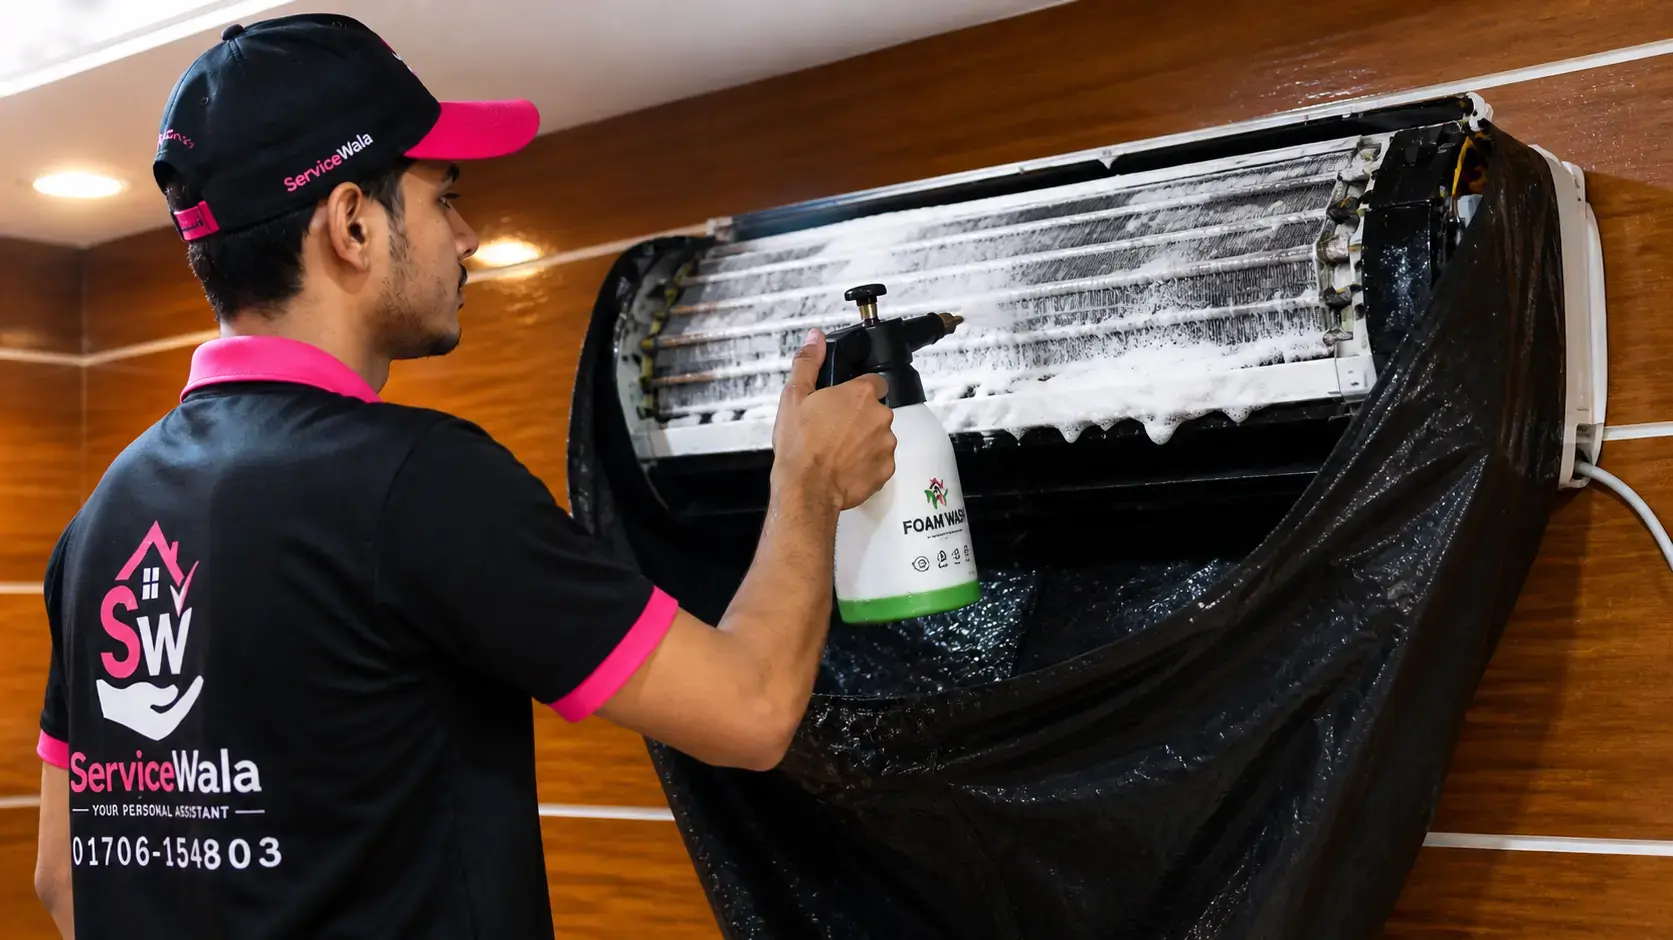
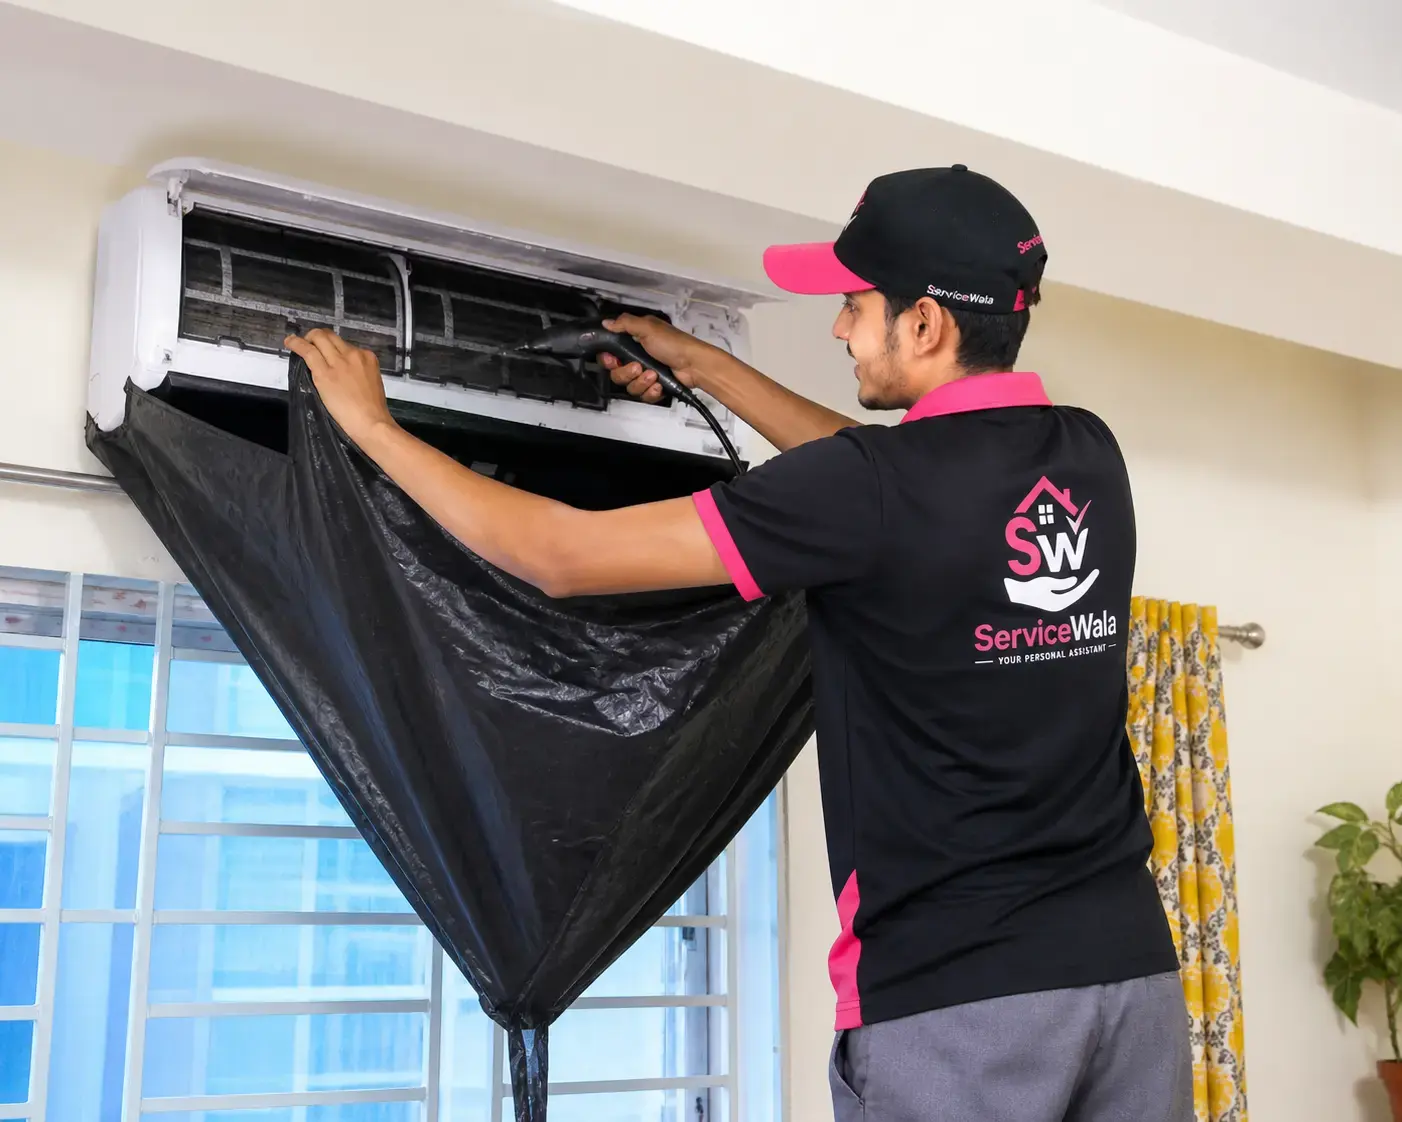
◉ Water Tank Cleaning◉ AC Foam Wash ◉ AC Jet Wash
◉ AC Gas Refill ◉ AC Master Servicing
◉ AC Uninstall & Re-install ◉ AC Leak Repair
Pricing
⚠️ If scaffolding or special hanging is required, an additional hanging charge will apply.
Technician will inform you before starting the work.